
In the AIR Canopy kit
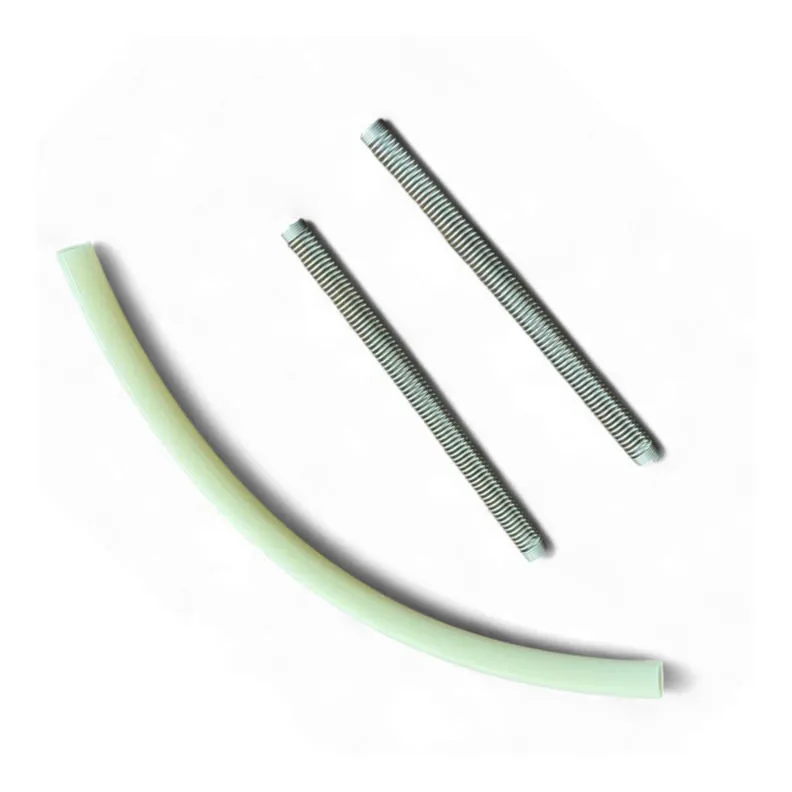
Valve connector with springs
Canopy with one storm beam
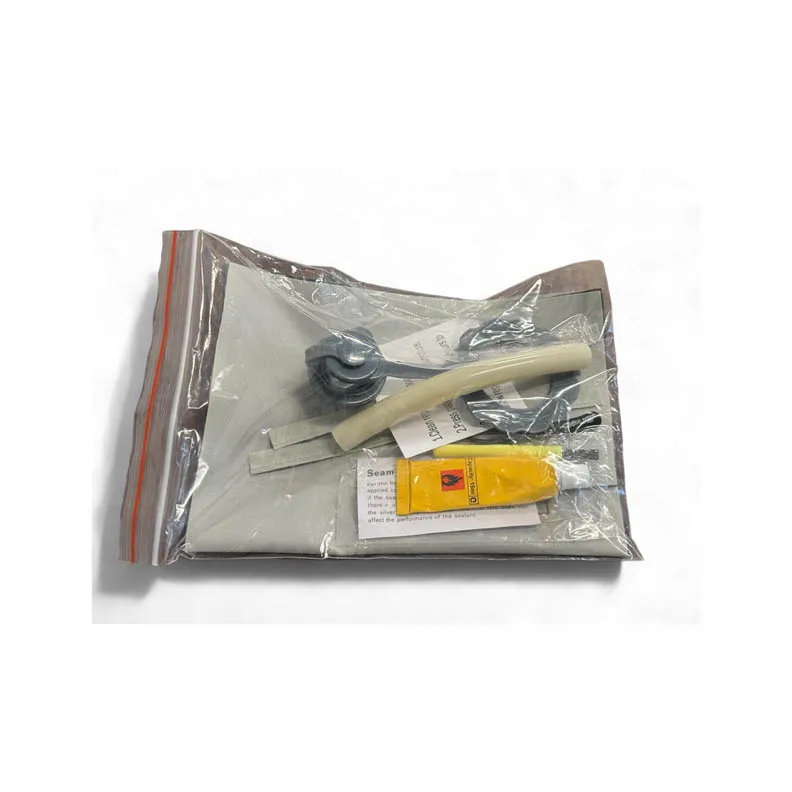
Patch kit
Step 1
Fit the cross filling tube.
Locate the canopy air transfer valve inside your OPUS. This is the black valve located on your main air beam in the camper on the door side, just above the window.
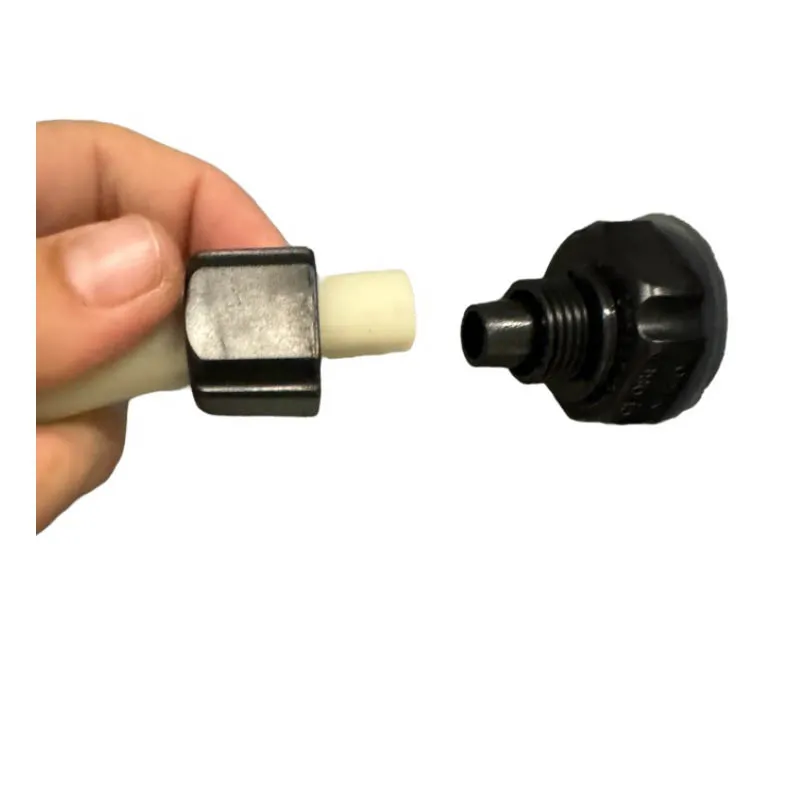
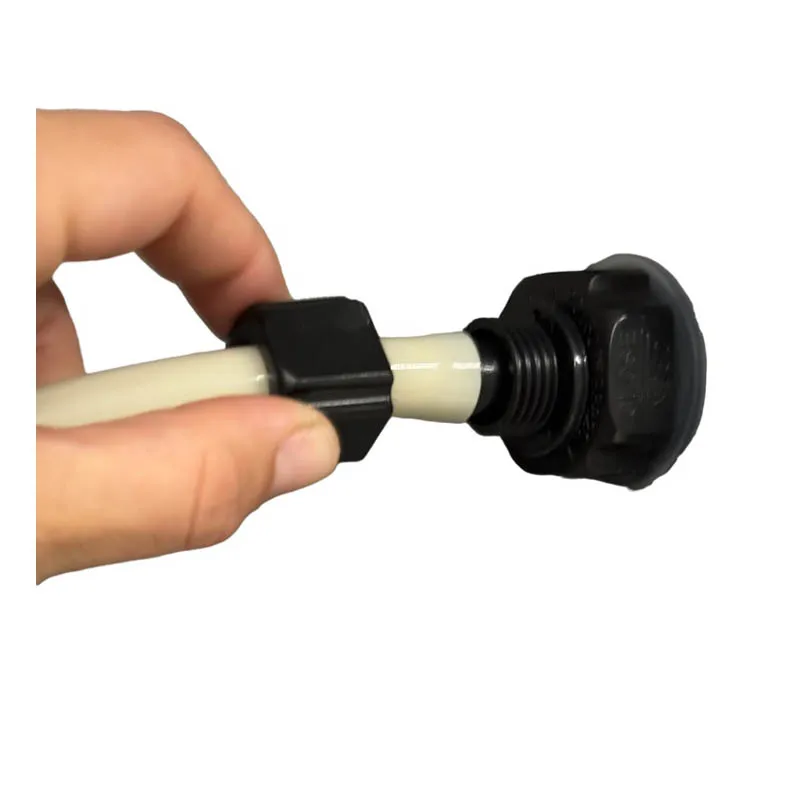
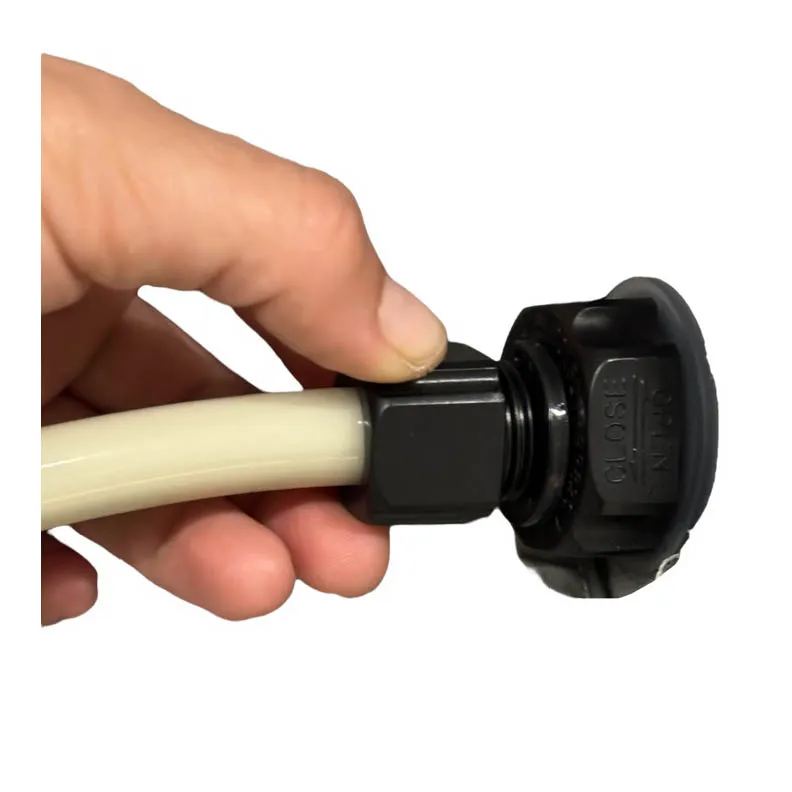
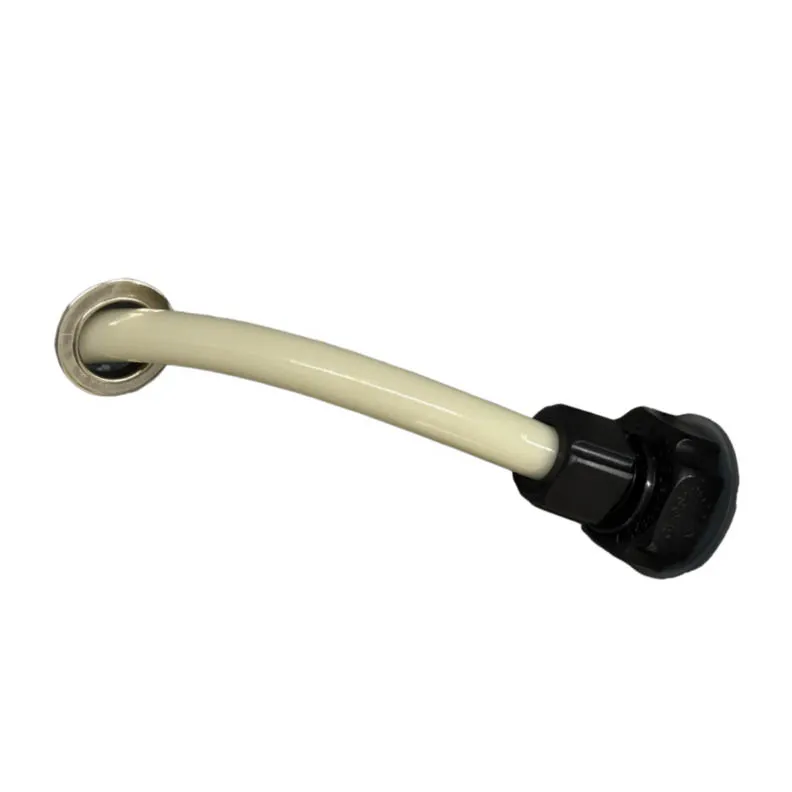
Install the Cross Filling Tube by unscrewing the top of the black valve, pushing the gray tube on to the valve and then threading the top of the black valve over the tube and twisting it on. Thread the end of the Cross Filling Tube through the silver loop hole in the OPUS side wall.
Open the air transfer valve. Please note that this will cause your tent to deflate; you can also open the quick release valves to deflate faster. You will need to do this to attain easy access to the zip line attachment on the front face of your tent.
Step 2
Zip the canopy on and connect it.
Open up the AIR Canopy and identify the zip and Velcro line, which is how you will attach the canopy to your main tent, and lay out your canopy with the two front leg beams furthest from the camper.
Zip: our recommendation is to stand between the OPUS and the canopy and start zipping at the door side, walking backward between the OPUS and the canopy as you close the zip. This will assist in locating both the Cross Filling Tube that you installed on the main OPUS tent and the receiving valve on the canopy side, about halfway along the zip line. The receiving valve is located on the central air pole of your canopy.
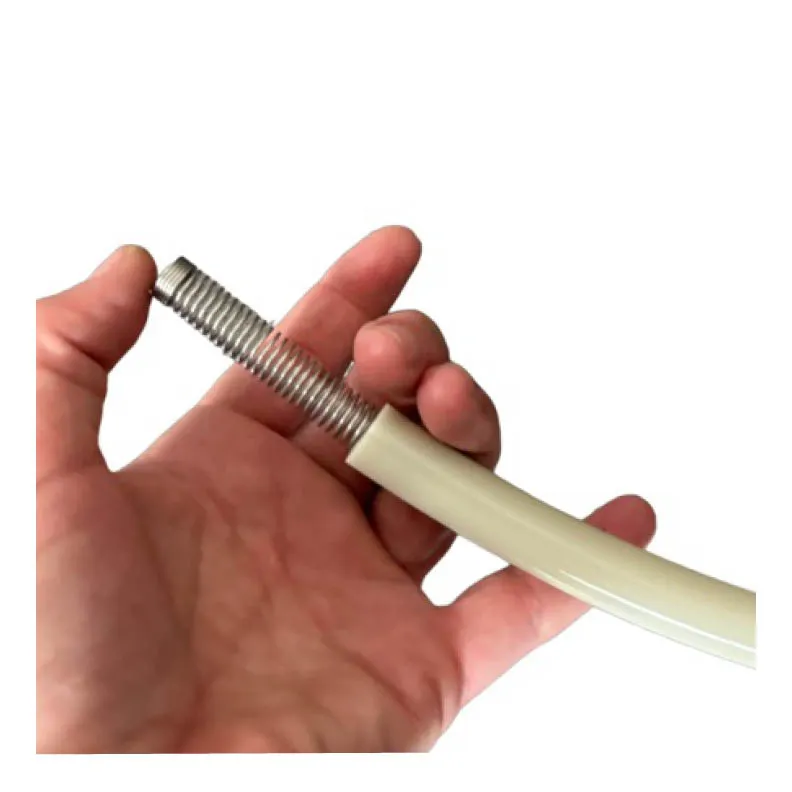
Once located, connect the Cross Filling Tube to the receiving valve on the side of the canopy. Take care to ensure that the spring is inside the gray tube to help protect the hose from getting kinked. Install the tube to the receiving valve in the same way as in step 1, except you will need to thread the top of the valve onto the Cross Filling Tube before you push the tube onto the valve. Twist the top of the valve on to secure the tube in place.
Open the valve on the canopy side. Finish zipping the canopy to the side of the OPUS and fold the Velcro flap over the zip.
Step 3
Inflate and tension.
Ensure both quick-release valves are closed on the canopy legs and all 5 on your OPUS main tent, then press the AIR compressor button on the control panel and wait for the canopy to inflate.
Keep an eye out for obstructions. When the canopy is starting to form, feel free to help guide the air beams to assist an easy flow of air through them and form the final canopy structure.
Once your canopy has inflated, you may find that the position of the AIR poles needs adjusting so that the canopy is fully tensioned. There are black straps between the beams on the main tent section, which will help to ensure the optimal placement of the beams. You can then peg the corners and guide ropes of the AIR Canopy to the ground to secure your position.
Watch it done
